
Plants
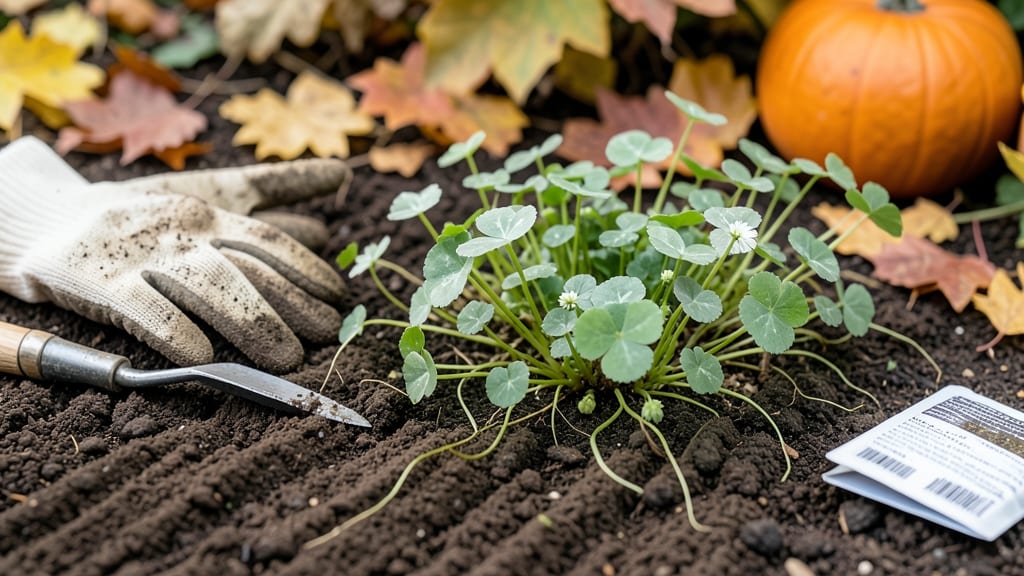
Planting clover in the fall gives you a head start for lush spring growth—but getting the timing wrong can leave you with weak, frost-sensitive plants. The key isn’t just picking a random date; it’s understanding how your local climate and soil conditions interact to create the perfect window for success.
In most regions, like USDA Zone 6a, you’ll want to plant 6-8 weeks before your first frost, typically between late August and early October. This timing lets clover establish strong roots before winter, so it bounces back faster in spring.
But here’s the catch: if you plant too early, weeds might outcompete your clover, and too late? The seeds won’t have time to germinate before the ground freezes.
Beyond dates, soil prep is the game-changer. Clover thrives in well-draining, slightly acidic soil with plenty of organic matter—think of it as a low-maintenance ground cover that also improves your soil over time.
We’ll break down the exact steps to prepare your soil, adjust for your region, and avoid common mistakes that can turn your clover patch into a winter casualty.
Whether you’re aiming for erosion control, a bee-friendly lawn, or just a low-maintenance green space, fall-planted clover delivers. Let’s make sure your timing and soil prep set you up for a thriving patch next spring—no guesswork required.
Optimal fall planting dates for clover by US hardiness zones
Planting clover in the fall gives it a head start for spring growth, but the perfect timing depends on your USDA hardiness zone. Too early, and seeds may rot; too late, and clover won't establish roots before frost.
I'll break down the ideal planting windows for zones 3 through 10, plus soil temperature clues to ensure success.
Clover thrives when soil temperatures stay above 50°F (10°C) but cool enough for root establishment before winter. Aim to plant 4-6 weeks before your first frost date. In colder zones, this means late August; in warmer zones, it stretches into October. Let's dive into the zone-specific details.
Soil temperature is your best friend here. Use a soil thermometer to confirm temps are between 50°F and 70°F (10-21°C). If temps drop below 40°F (4°C), clover seeds may fail to germinate. In Zone 3, for example, this narrow window is mid-August to early September.
| USDA Zone | Planting Window | Soil Temp Range | Adjustments |
|---|---|---|---|
| 3-4 | Mid-August to early September | 50-60°F (10-15°C) | Use mulch to protect seeds |
| 5-6 | Late August to mid-September | 50-65°F (10-18°C) | Extend window with row covers |
| 7-8 | Early September to early October | 55-70°F (13-21°C) | Plant white clover for cold tolerance |
| 9-10 | Late September to mid-November | 60-75°F (15-24°C) | Avoid planting if frost risk remains |
For Zone 3-4, where winters are harsh, I recommend planting white clover—it’s the most winter-hardy variety. Spread seeds thinly (½ lb per 1,000 sqft) and cover lightly with straw mulch to insulate against early frosts.
In Zone 5-6, you can push the window slightly later, but monitor soil moisture—dry spells can delay germination.
In warmer zones (7-10), clover can handle later plantings, but avoid sowing if frost is forecasted within 2 weeks. Instead, opt for red clover, which establishes faster in mild climates.
If your area has unpredictable frosts, like the Pacific Northwest, plant a test patch in early September to gauge success.
Adjust your planting date if your local microclimate differs from the zone average. Urban areas, for example, often experience heat islands that delay frost. Check your last average frost date (via Almanac.com) and plant 6 weeks before that date. For rural gardens, add a 1-2 week buffer for safety.
One common mistake is planting clover too close to frost. If seeds don’t germinate before 32°F (0°C), they’ll fail. To test readiness, press a seed into moist soil—if it doesn’t sprout within 10 days at 60°F (15°C), wait another week.
Patience here pays off with denser spring growth.
After planting, water deeply to settle seeds into soil, then maintain consistent moisture until roots establish (about 3-4 weeks). In drought-prone zones, like Zone 9-10, mulch heavily to retain moisture. By following these zone-specific guidelines, your clover will survive winter and bloom beautifully next spring.
Pro tip: Mark your planting dates on a garden calendar to avoid confusion next year. Include notes on soil temps and weather patterns—this helps refine your approach for future seasons.
With the right timing, your clover will become a low-maintenance ground cover that improves soil health and attracts pollinators.
Soil preparation checklist: 5 critical steps for clover success
Clover thrives when planted in well-prepared soil, but many gardeners skip this crucial step. Without proper prep, your clover may struggle to establish roots before winter or fail to bloom in spring. The key is creating a loose, fertile, and well-draining growing medium that mimics clover's natural habitat.
I’ve planted clover in everything from heavy clay to sandy loam, and the difference in success is dramatic. The 5 critical steps below will ensure your clover gets the perfect foundation—whether you're planting for erosion control, soil improvement, or a lush green lawn alternative.
Let’s get your soil ready!
🌱 Step-by-Step Soil Prep for Clover
- Test soil pH (6.0–7.0) – Clover needs slightly acidic to neutral soil. Use a home test kit or send a sample to your local extension office. If your pH is off, amend with lime (to raise) or sulfur (to lower) 2–3 months before planting.
- Remove weeds and debris – Clear the area of competitive weeds and rocks to give clover room to spread. A quick flame weeder or hand-pulling works best for small areas.
- Loosen soil 6–8 inches deep – Use a broadfork or tiller to break up compacted layers. Clover roots need good aeration to establish quickly before winter.
- Add 2–3 inches of compost – Mix in well-rotted compost or aged manure to boost organic matter. This improves water retention and provides slow-release nutrients for early growth.
- Check drainage – If water pools after rain, amend with sand or perlite. Poor drainage leads to root rot and weak clover stands. A simple percolation test (dig a hole, fill with water, time drainage) works.
One common mistake I see is skipping the pH test—assuming soil is "fine" without checking. I once planted clover in alkaline soil (pH 7.5+), and the seeds barely sprouted.
Always test first! Another pitfall is over-tilling, which can disrupt soil structure. Stick to light loosening—clover prefers a natural, undisturbed soil environment.
After prepping, water deeply to settle the soil and encourage seed-to-soil contact. Aim for 1–1.5 inches of moisture in the top 6 inches before planting. This hydrated soil helps seeds germinate faster, giving your clover a head start before winter sets in.
Pro tip: If your soil is sandy or poor, mix in a composted leaf mold layer. It mimics the forest floor where clover naturally thrives, improving moisture retention and microbial activity. Your clover will reward you with vibrant green growth and bees buzzing by spring! 🌿